Now that ESI Money is doing fairly well ($20k to $30k in income this year) and I’ve purchased Rockstar Finance which will earn at least that much as well, I’m getting quite a few questions about how to start a blog, how to turn it into a side hustle, and so forth.
I’ll be detailing a step-by-step process to starting a blog in future posts, but I know some people just want to get to it.
So I wanted to put up a page listing the few steps I would take today to launch a new site.
I want to be realistic about the earning potential of a blog, so this isn’t going to be one of those “How to Start a $1 Million Blog” sort of posts.
That said, I think that if it’s done correctly and someone sticks with blogging for a few years, earning $25k as a side hustle is quite doable for many people. That’s what I’ve done and if I can manage it, so can you.
And I’ve been able to negotiate a special rate for ESI Money/Rockstar Finance readers. If you want to get started now, you can visit this page to see the deal and use the code “25kBlog” at checkout to save a bundle!
Just Get Started
Like many things in life, the first big hurdle is simply to get started. Get a blog up and running and begin writing. You can fine-tune everything else from there.
This page will help you with just that — the steps needed to get a blog up and running. It’s not as hard as you may think, even if you’re unskilled with technology like I am.
After this piece I may post some more on the next steps to create a winning blog, either here or at Rockstar Finance, so stay tuned.
Before we get to the basics of setting up a blog, let me save you a bunch of time and wasted effort with the following…
You Must Use WordPress
There are various software options for creating a blog but only one good one: you want a self-hosted WordPress blog with your own domain name and hosted by a reputable hosting company.
This means you want a site developed with the WordPress software that you have hosted (put on the internet) with a company you select. With this combination, you have the best software as well as total control of your site.
Don’t sign up for a free WordPress.com account and park your new blog on yourblogname.wordpress.com. That SCREAMS #amateur!!!!
And don’t consider other blogging platforms. WordPress is THE option, the gold standard. Something like 25% of the web is built on WordPress and because it’s crowdsourced, it’s completely free. Using something else will only end up in a mess. Believe me, I’ve been there.
Now that we’ve got that settled, let’s talk about how to get your blog up and running in no time. It only takes three simple steps…
Step 1: Choose a host.
Setting up a blog used to be a nightmare full of tech issues at every corner. Even WordPress was tough to deal with back in the day.
Thankfully we’ve come a long way since I stared blogging in 2005. Today hosting companies make setting up a blog as easy as ordering from Amazon.
The sheer number of hosting services can make your head spin. And not all hosts are created equal. There are quite a few out there that aren’t up to snuff.
You want a hosting company that has a reputation for very little down time, is known for great customer service that’s available 24/7, and offers several plans to choose from. That’s why my recommendation is that you begin with Hostgator.
To get your site started, choose a hosting package. Here you’re buying space on a webserver that will store all your text, images, and videos (if you want video).
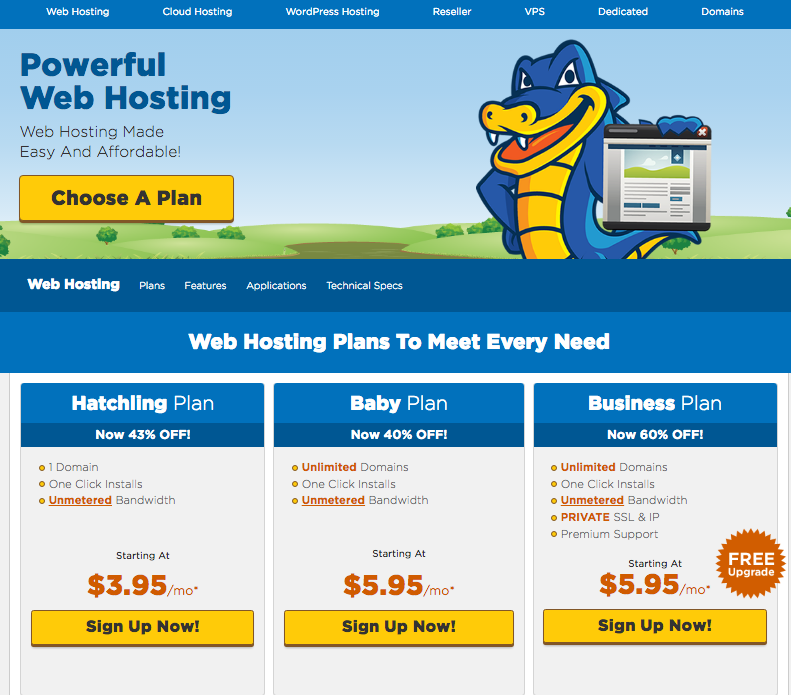
Hostgator has several shared hosting plans as seen here:
You can pick whichever you like, but if you’re just starting out, I’d suggest the Hatchling Plan. It will save you money and will be more than enough to handle a startup site.
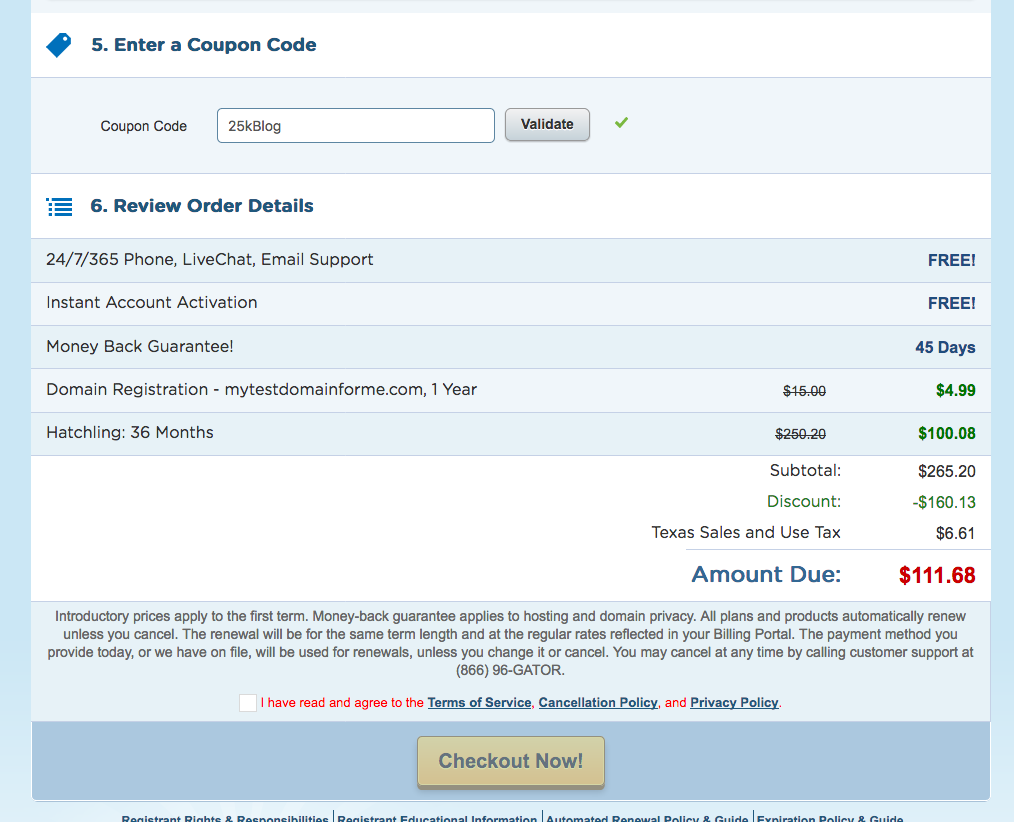
Note: Those are the “regular” special offer prices. ESI Money and Rockstar Finance readers have a very special offer — which is 62% off retail! Simply go to this page for details. Then when you check out, use code “25kBlog” to save a bundle! It will look something like this:
As your site grows you can always upgrade for more space and options. I’ve upgraded my site several times in the past year. It’s easy to do — just a few clicks online and you’re up to the next level.
Hostgator’s plans come with some pretty nice perks including:
- Unlimited storage and email addresses
- A drag-n-drop website builder that makes it super easy to create a nice looking site without the help of a web designer
- Google Adwords and Yahoo/Bing credits, so you can advertise your blog
Once you’ve chosen your option just click the “Sign Up Now” button and follow the instructions on screen.
Step 2: Register a domain.
A domain name is your web address. You need a good one and should give some thought to selecting one.
You typically want your domain name to be the same as your blog’s name. It simply doesn’t make sense if your site’s name is “Money Master” and your domain is www.JoeSmithsBlog.com.
And don’t forget about search engine optimization (SEO) when you’re thinking about your blog name and domain name. It’s an added bonus if the name is something that people will actually Google.
A couple of simple rules to help you select the right domain name:
- Don’t include numbers or dashes in your domain name
- Don’t use “the” before your real blog name (i.e., thebestblog.com)
- Try at all costs to get the .com – Don’t use .net or .org if you can help it
- The shorter the domain name the better
Of course one problem is that many of the great domain names have already been taken.
So take time and think about what you want your blog to stand for, then brainstorm some names that fit.
For example, I knew I wanted my site to focus on three steps to building wealth: earning, saving, and investing. I also liked having “money”, “wealth”, or some other financially-related word in the name.
But EarnSaveAndInvestYourMoney.com seemed a bit long. After a bit of brainstorming I came up with a shorter version that contained all I wanted to say: ESIMoney.com.
You should go through the same process, then select a domain name that works for you.
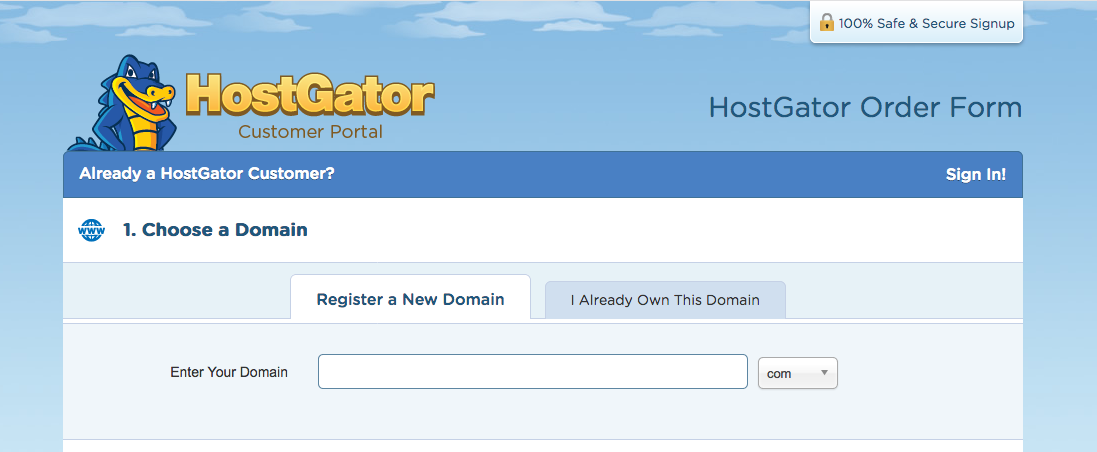
Hostgator has a tool to help you find the right domain. Just type in your preferred choice and click “Search”, and it will tell you if the domain is available.
It’s okay to register a domain with one company and have your hosting with another (that’s actually my current setup). But that can be a pain if you’re looking to minimize technical steps in the setup process. My recommendation is to register your domain in the same place as your hosting so Hostgator can take care of everything.
Once you’ve picked your domain, you most certainly want to get the Domain Privacy Protection. Normally, when you register a domain, you have to tell ICANN who you are, and anyone can look up who owns the domain, including your address. If you use Hostgator’s Domain Privacy Protection your information is replaced with Hostgator’s. It’s still your domain, but no one can look up your personal details.
I learned this the hard way. I bought one URL simply on speculation and didn’t select privacy protection. I was inundated with emails and calls (yikes!) from people all over the world trying to sell me various web services. Worse yet, I got on a scammer list and had six months of calls from bogus IRS agents saying they were suing me. So do yourself a favor and go with the protection.
To do so, simply follow the on-screen instructions. Easy-peasy.
As a final reminder, I’ve worked with HostGator to set up a special deal for ESI Money and Rockstar Finance readers. To take advantage of it, simply go to this page then use code “25kBlog” to save a bundle at checkout!
Step 3: Install WordPress.
Now that you have a hosting account and a domain name, all you have to do is get WordPress set up and you’ll be writing content in no time!
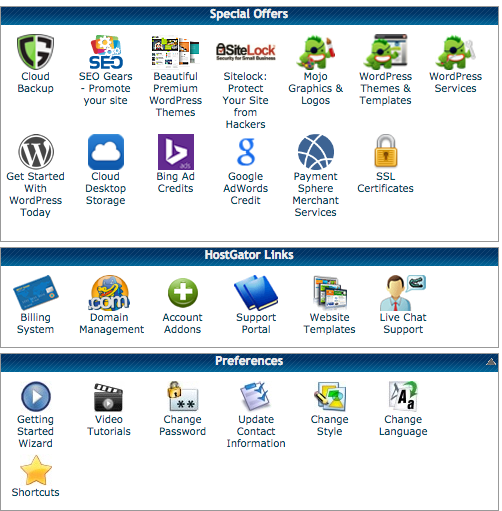
Open the welcome email that Hostgator sent you. In it you’ll see a link to your cPanel (which is simply short for “Control Panel”). Use the username and password provided and log in to your cPanel.
Look for the “Quick Install” button, and click it. Then, find “Popular Installs” and you’ll see that WordPress is at the top.
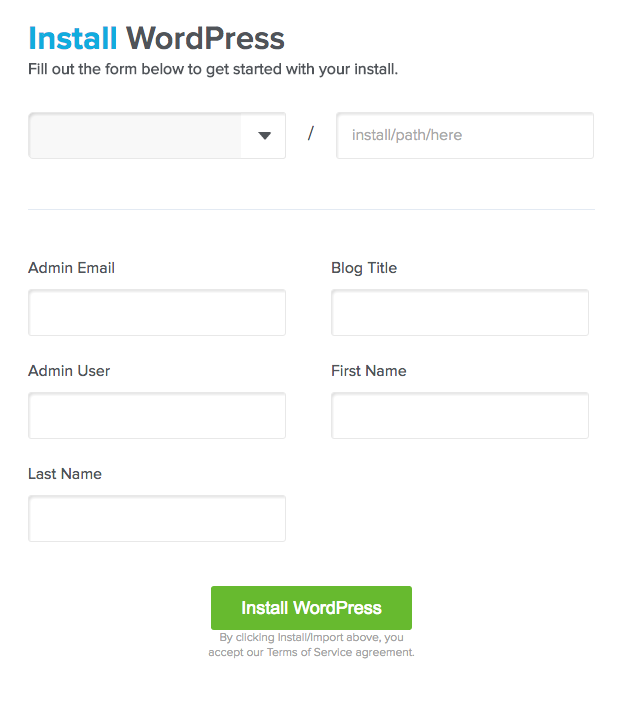
Click on “WordPress” and fill out the form. You can change these details later, so don’t worry too much at this point.
When you’re ready, click “Install WordPress”. And that’s it!
Your site is up and running! Now it’s time to come up with some ideas and start cranking out the content!
From there, write well and consistently and STICK WITH IT. If you do, there’s a good chance you’ll have your own $20k blog in a few years.
Good luck!

